Your Migration Journey

Switching from Windows 10 to Linux Mint may sound technical, but we’ve broken it down into a few simple steps anyone can follow.

Don’t worry — you won’t lose your personal files, and you’ll gain a system that’s fast, secure, and future-proof.

Migration Steps

Follow these steps to ensure a smooth transition from Windows 10 to Linux Mint.

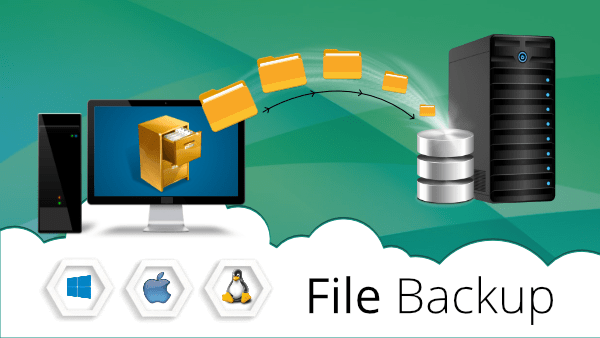
Step 1: Backup Your Files

Make sure all your important files, documents, and settings are safely backed up to an external drive or cloud service.

Backup Files
Backup files

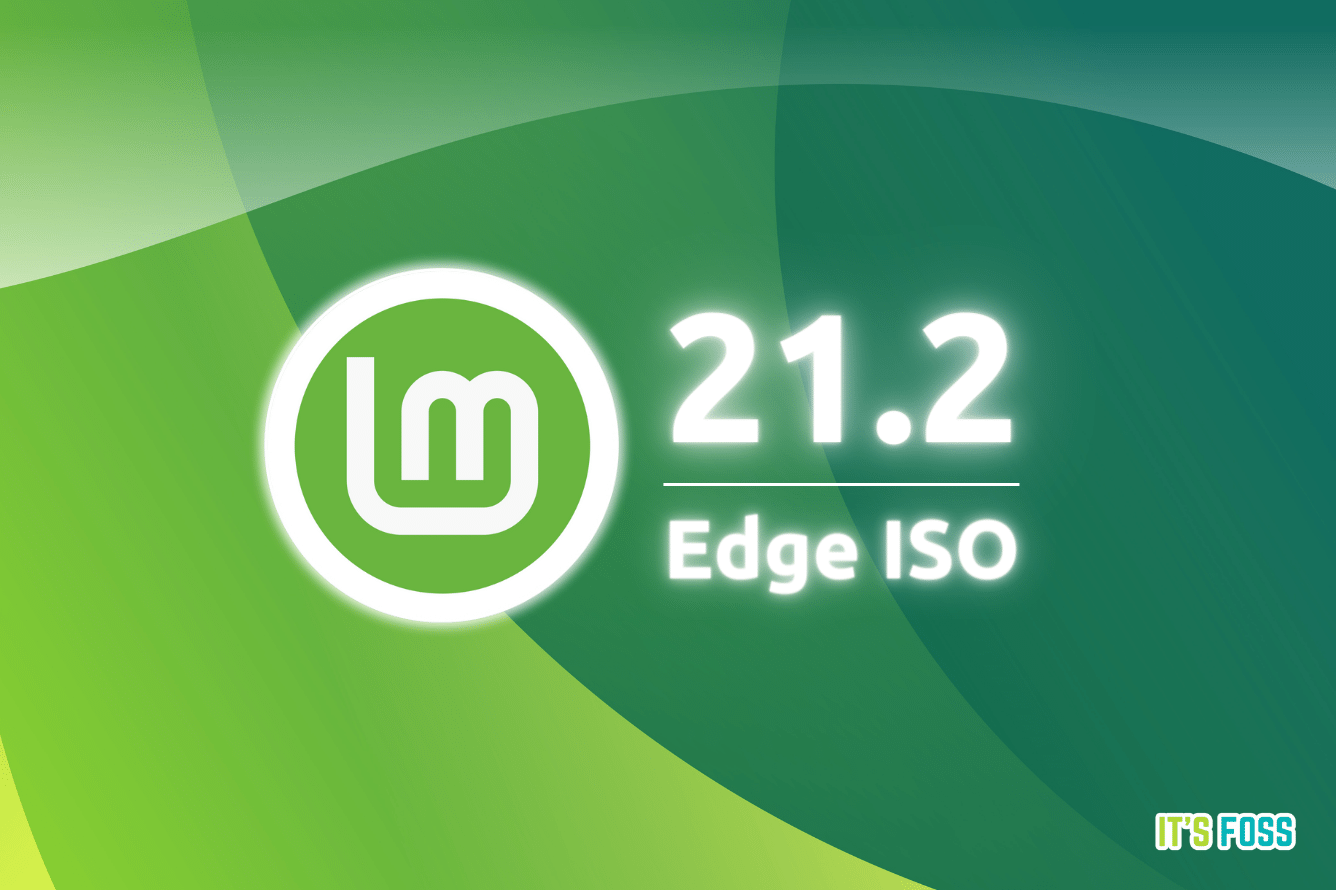
Step 2: Prepare Installation Media

Download the latest Linux Mint ISO and create a bootable USB drive using tools like Rufus or Etcher.

USB Drive
USB Drive
ISO Download
ISO Download

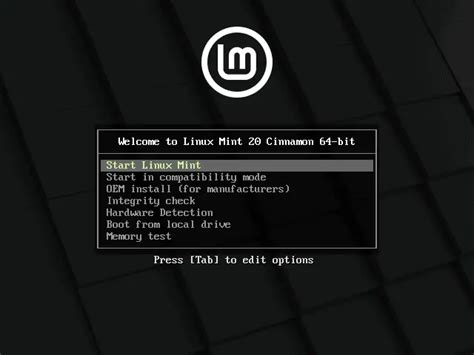
Step 3: Boot and Test Linux Mint

Restart your computer and boot from the USB. Try Linux Mint in live mode to ensure everything works with your hardware.

Live Mode
Live Mode

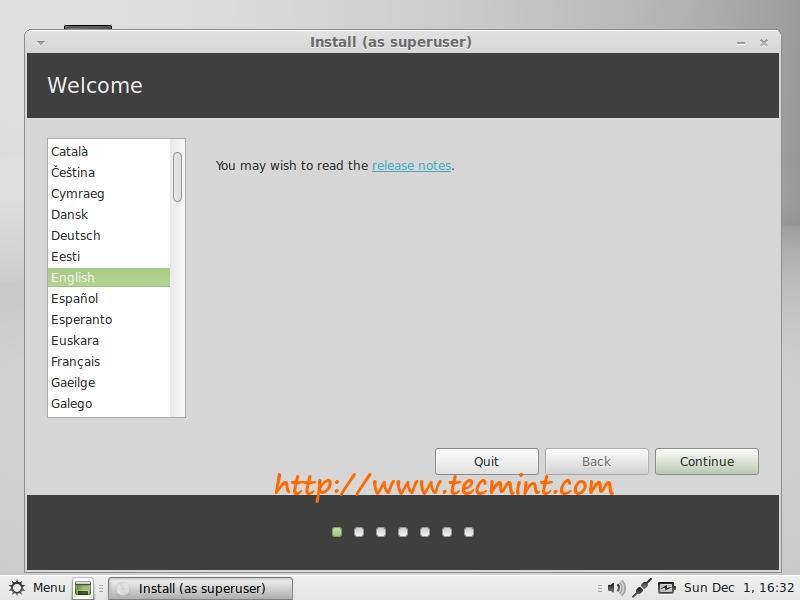
Step 4: Install Linux Mint

Follow the installation wizard. Carefully select your partitions and restore your backed-up files after installation.

Installation Wizard
Installation Wizard

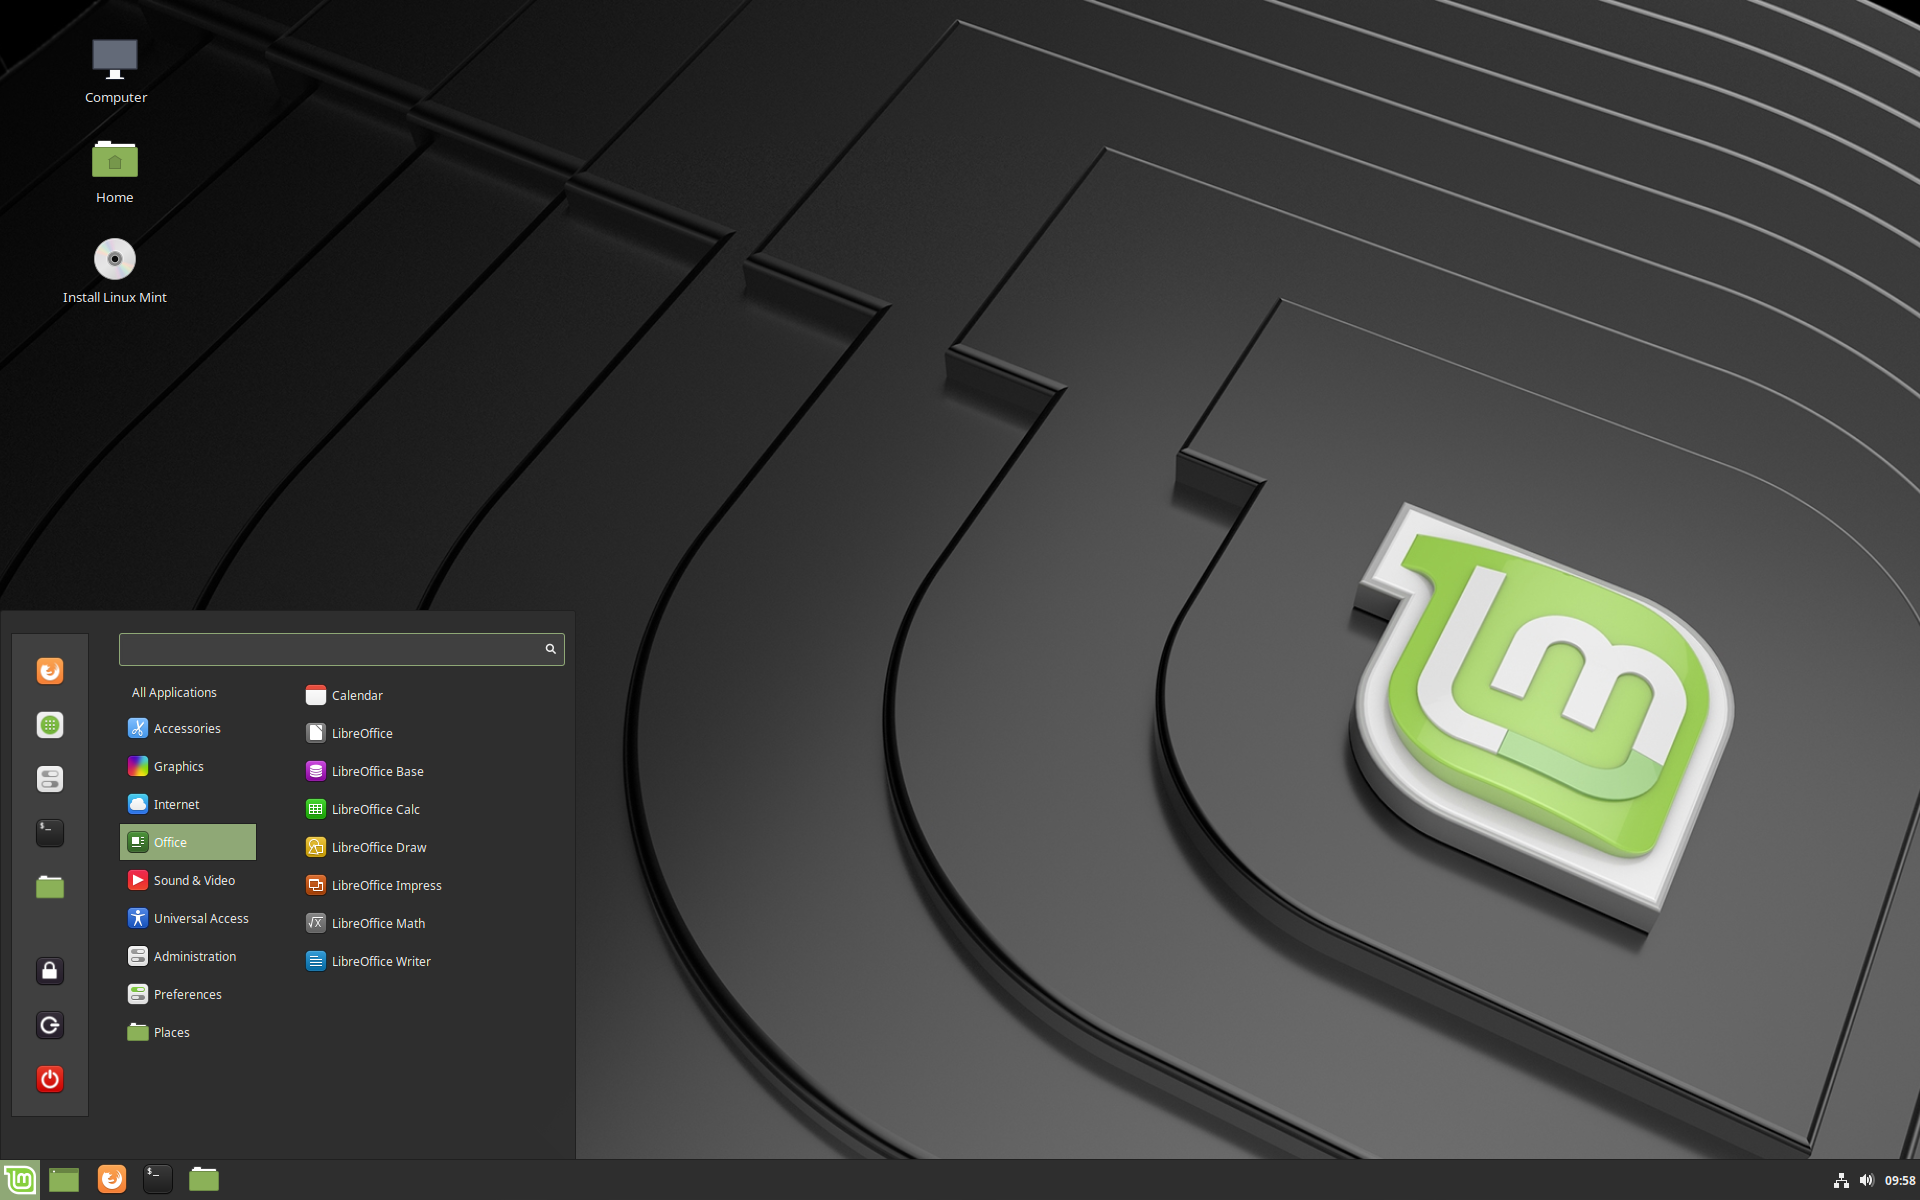
Step 5: Enjoy Your New System

Explore Linux Mint with confidence and start using your familiar apps in a free and open-source environment.

Desktop
Desktop

You Did It! Welcome to Your New System

Congratulations! Your migration to Linux Mint is complete. Your files are safe, your applications are ready, and your system is fully set up.

Install Essential Apps

Discover must-have applications to enhance your workflow.

Customize Your Desktop

Adjust themes, wallpapers, and menus to your liking.

Learn Shortcuts & Tips

Get the most out of Linux Mint with quick tips and tricks.

Getting Started Guide

Browse the official Linux Mint GitHub discussions for tips, solutions, and insights from real users.

Learn More